
Well Cementing: How a Primary Cement Job Works, and the Shoe Track Made Up Before the Casing Is Run
Cement is the barrier element nobody sees. This page explains what a primary cement job does, the six steps it follows, the float shoe and float collar that make it possible, what goes wrong, and the one part of the job that is threaded steel made up in a yard before the rig ever sees…
Well cementing is the placement of cement in the annulus between a casing string and the formation, or between two strings, to support the casing and isolate every zone from every other. A primary cement job runs in six steps at the well. One part of it, the shoe track with its float shoe and float collar, is threaded steel made up in a yard before the casing is run.
At a glance
| What it does | Supports the casing, seals the annulus so that fluid cannot move between zones or to surface, and protects the pipe from corrosive formation fluid. Cement is a barrier element in both well barrier envelopes |
| The six steps | Run the casing with the shoe track first; circulate and condition; pump spacer and drop the bottom plug; pump the slurry; drop the top plug and displace until it bumps; wait on cement and verify |
| The float equipment | A float shoe on the bottom joint and a float collar one or two joints above it, each with a check valve that lets fluid down and not back up, the collar also giving the plugs a place to land. Tested to API Specification 10F |
| The threaded part | The shoe, the collar and the shoe-track joints are made up to each other in the pipe yard, with thread-locking compound, because they will be drilled out later and must not back off. That make-up is bench work with a record |
| Decision this page supports | Reading a cement job for the connections in it, so a yard that assembles shoe tracks and casing accessories specifies its bench, its compound and its record for a joint that a bit will later turn against |
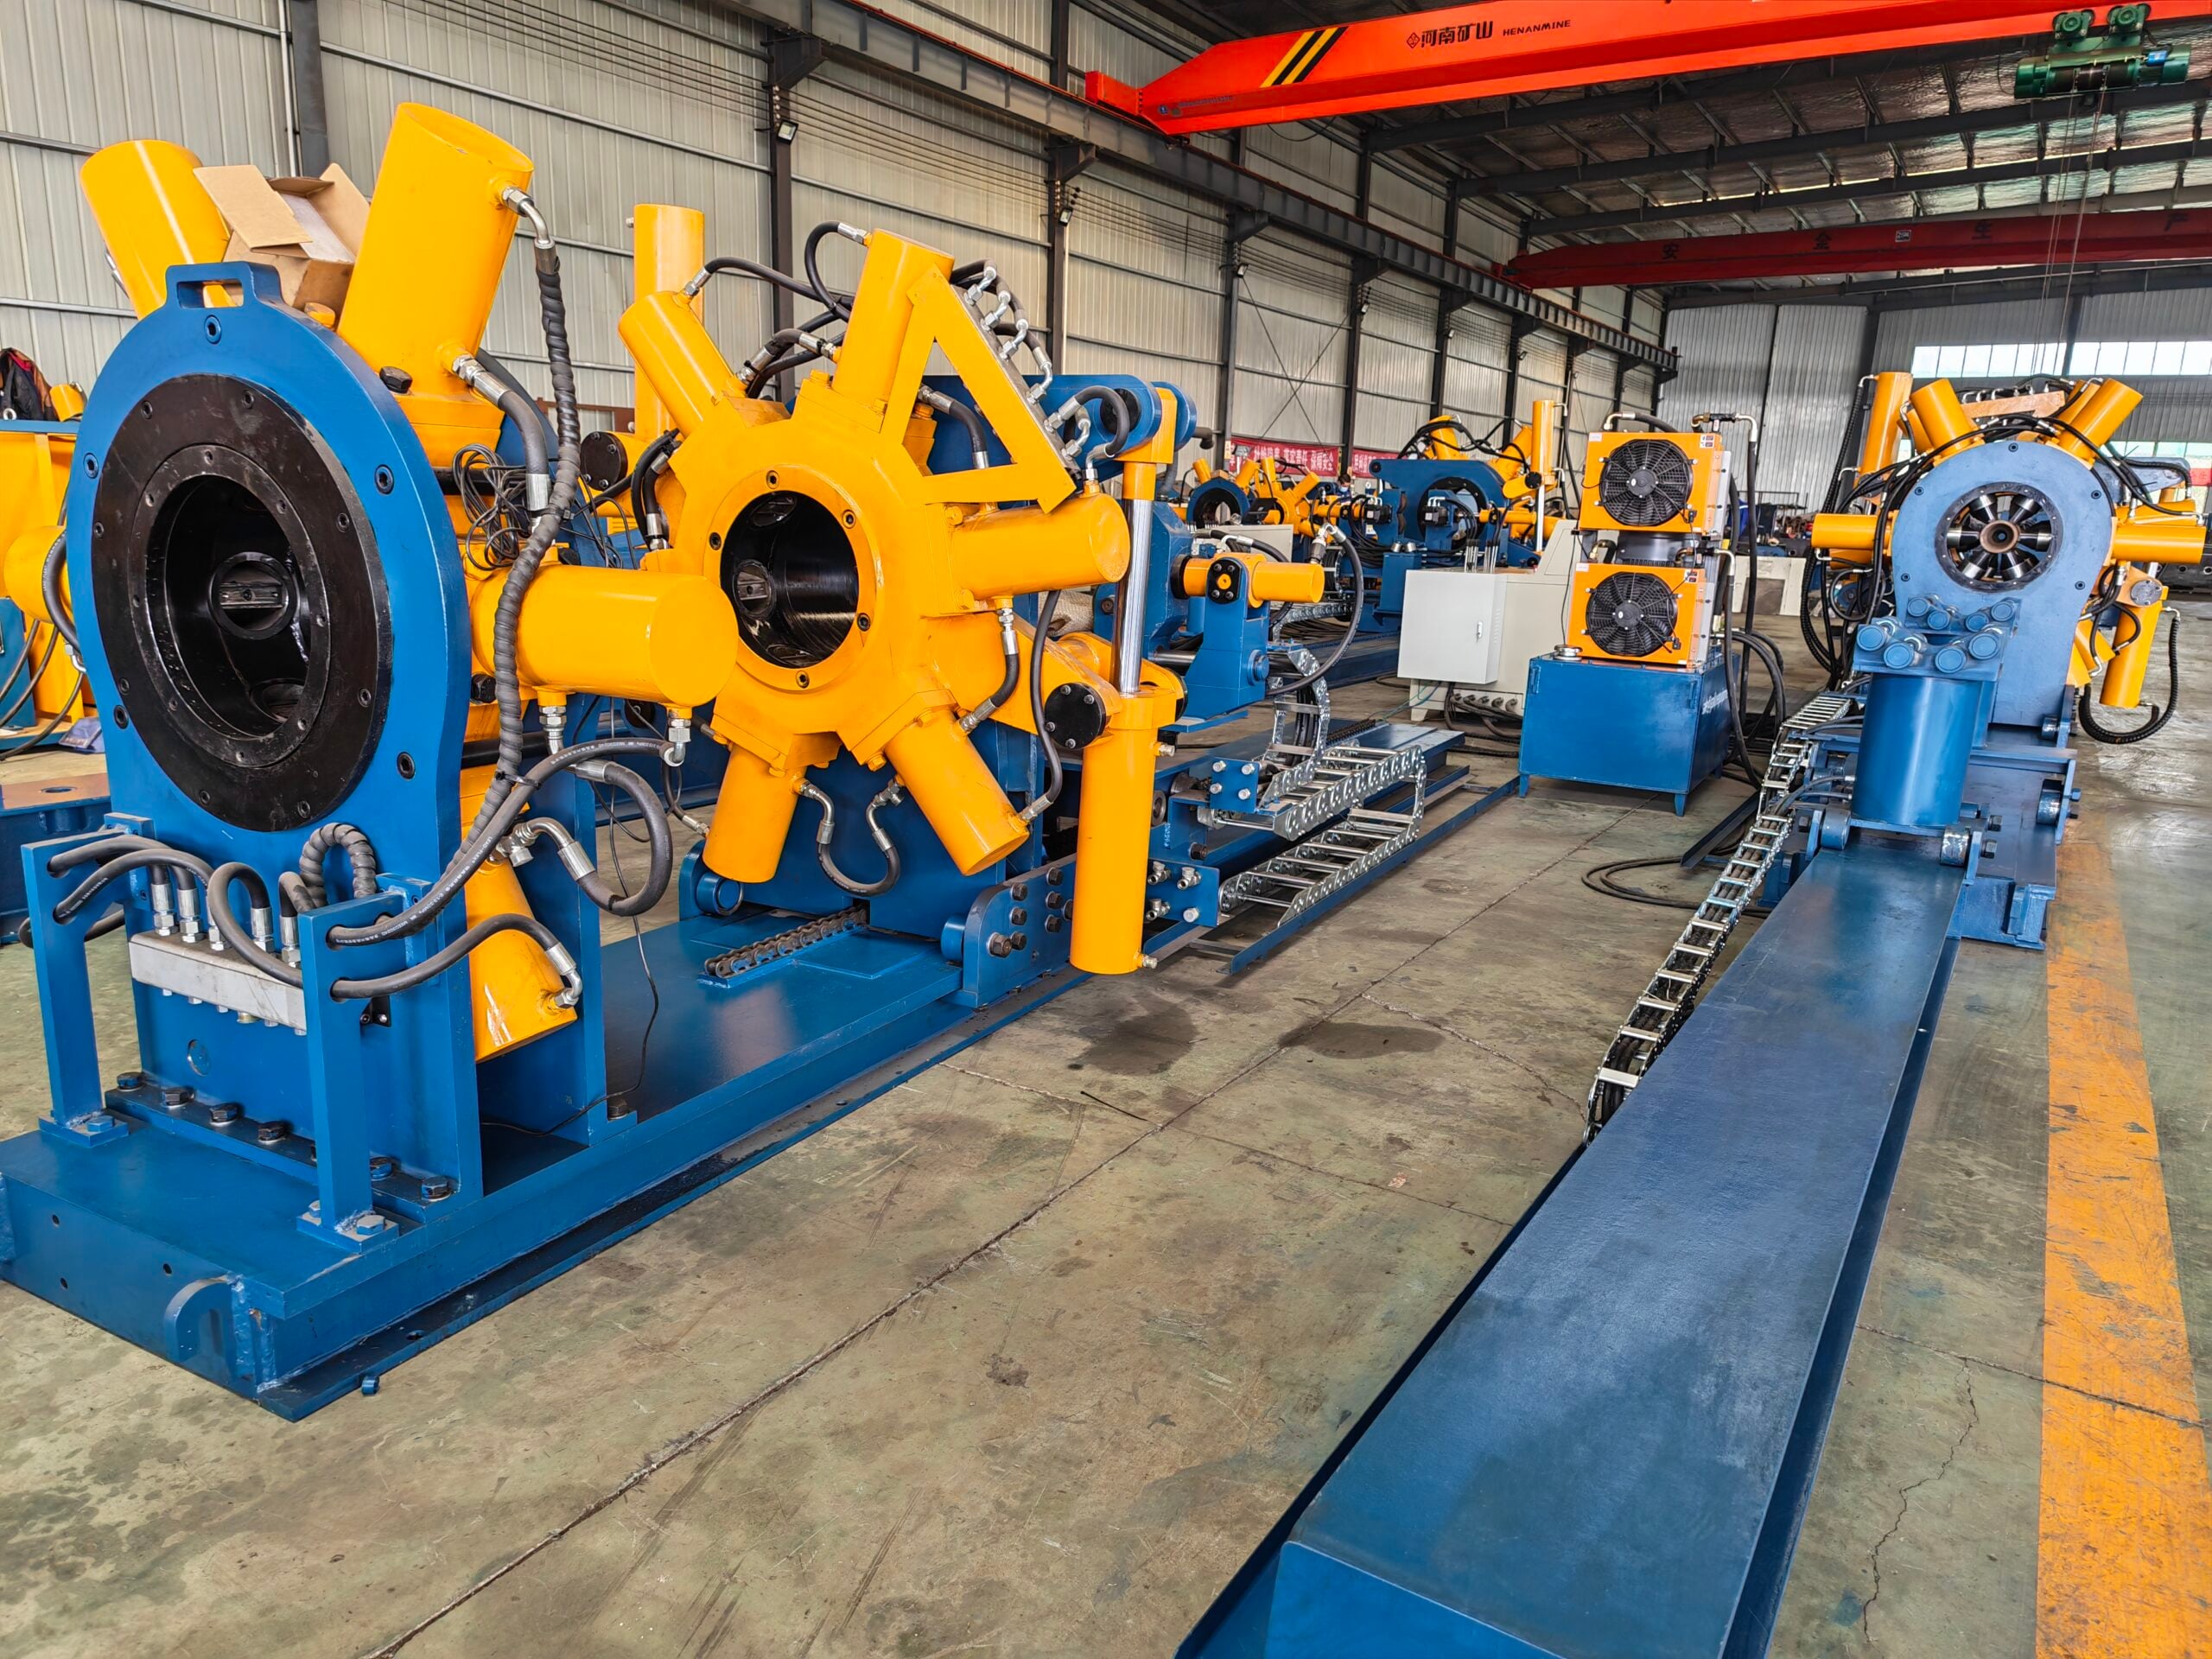
What well cementing does
A casing string is lowered into an open hole and would, on its own, do very little. It is the cement pumped around it that turns it into a barrier: cement fills the space between the pipe and the rock, hardens, supports the string, seals off every formation it covers from every other and from the surface, and keeps formation fluid away from the steel. Every string in the well gets a cement job, from the conductor to the production casing, and the cement behind the production casing is the element that both barrier envelopes of a producing well rely on, as set out in well integrity: the two barriers. The job that places that cement, straight after the casing is run, is primary cementing; anything done later to repair or add to it, squeezes and plugs, is remedial.
The industry’s own primer on the subject describes the goal plainly: zonal isolation, achieved by placing a competent cement sheath along the whole interval that needs it, with the pipe centred in the hole and the mud fully displaced ahead of the slurry (SLB Oilfield Review, Defining Series: Well Cementing Fundamentals). The cement itself is specified under API Specification 10A, in classes chosen for depth, temperature and pressure, and designed with additives for each well; placement and verification follow the operator’s programme and, for zones that could flow, API Standard 65-2, Isolating Potential Flow Zones During Well Construction. None of that is bench work. The part that is comes before the first sack of cement is mixed.
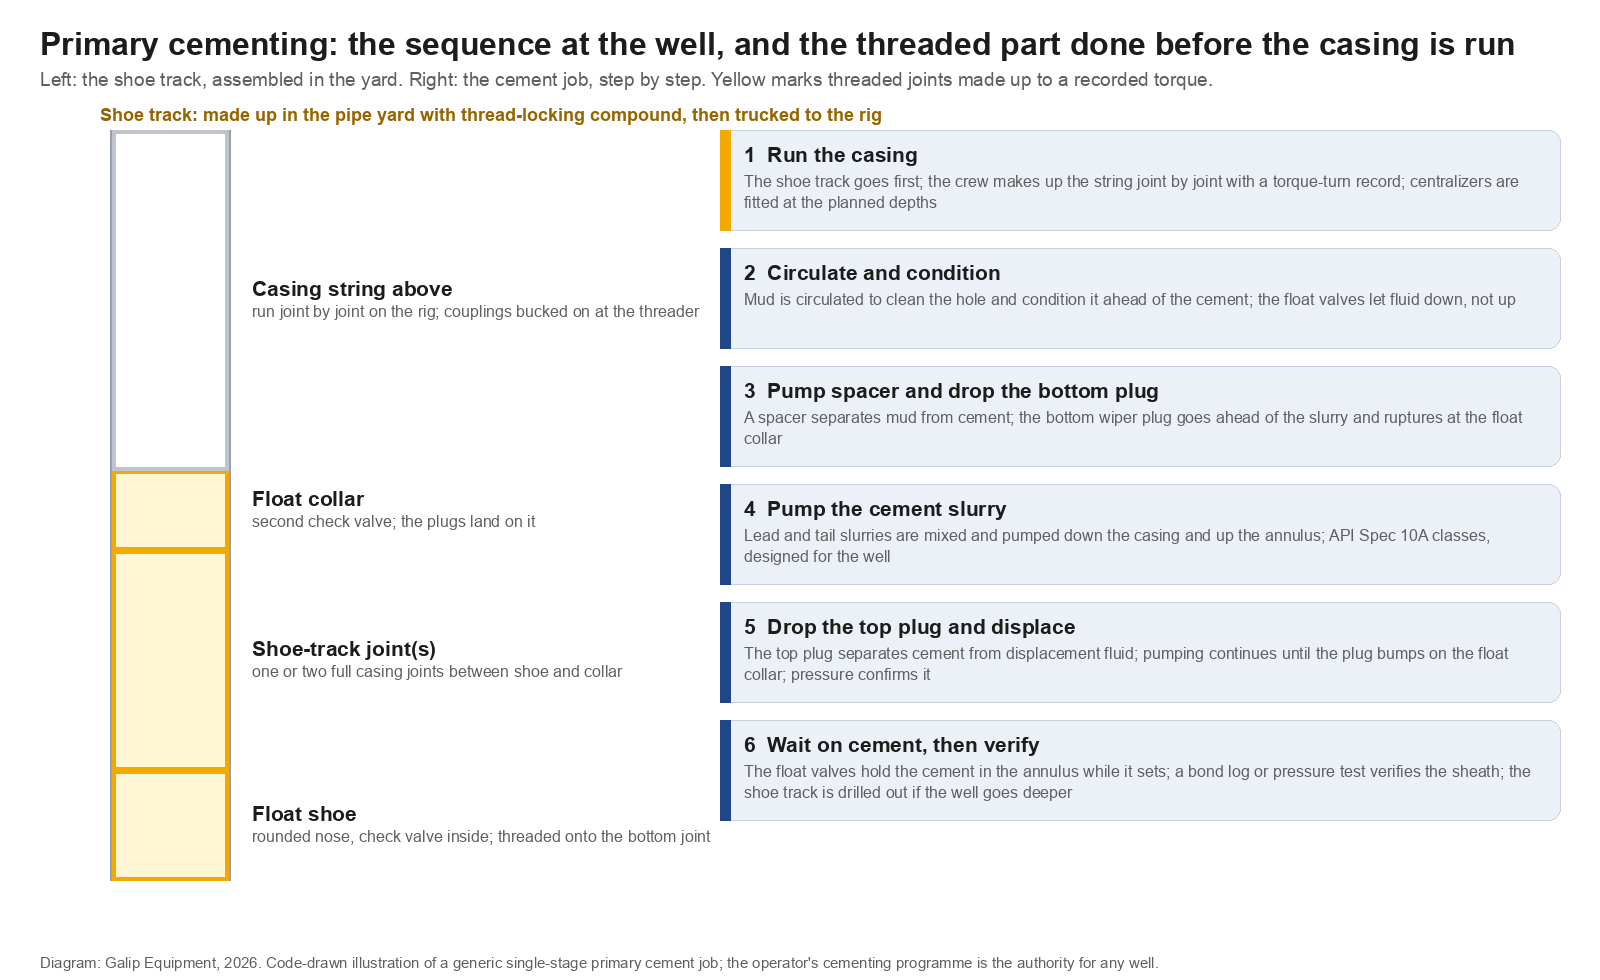
The six steps of a primary cement job
| Step | What happens | What it depends on |
|---|---|---|
| 1. Run the casing | The shoe track goes in first and the string is made up joint by joint on the rig, with centralizers fitted at the depths the programme calls for and each connection recorded, as described in tubular running services | A shoe track that will not leak or back off, couplings bucked on correctly at the threader, and a running crew with a torque-turn record |
| 2. Circulate and condition | Drilling fluid is circulated through the string and up the annulus to clean the hole and condition the mud ahead of the cement; the float valves let fluid pass down and stop it coming back | Float valves that open freely under flow and seal when it stops |
| 3. Spacer and bottom plug | A spacer fluid goes ahead of the cement to separate it from the mud; the bottom wiper plug is dropped ahead of the slurry and ruptures when it lands on the float collar | A float collar with a landing profile the plug can seat on |
| 4. Pump the slurry | Lead and tail slurries are mixed to the design and pumped down the casing, through the shoe and up the annulus | Slurry design, pump rate and a centred pipe so the cement surrounds it |
| 5. Top plug and displacement | The top plug is dropped behind the slurry and displacement fluid pushes it down until it bumps on the float collar; the pressure rise confirms the cement is in place | The float collar again, and a valve that holds the column of cement in the annulus from flowing back |
| 6. Wait on cement, verify, drill out | The float valves hold the cement while it sets; the sheath is verified by pressure test and, where required, a bond log; if the well continues, the shoe track is drilled out | Float equipment that drills out cleanly and connections that do not unscrew when the bit turns against them |
The sequence is the one every cementing text gives, with the wiper plugs doing the separating and the float collar giving them somewhere to land (Drilling Manual, Cement Placement Methods and Techniques). Read down the right-hand column and the float equipment appears in five of the six steps. It is the one piece of hardware the whole job turns on, and it is threaded.
Float shoe and float collar
The float shoe is the bottom of the casing string: a rounded nose that guides the pipe past ledges, a cement or composite body that will later be drilled out, and a check valve that lets fluid flow down through the string and stops it flowing back up. The float collar is the same valve in a short sub placed one or two joints above the shoe, with a profile inside that the wiper plugs land on. Between them sit the shoe-track joints, full casing joints whose job is to hold the last of the cement, so that any contaminated slurry at the end of the job stays inside the shoe track rather than in the annulus. The valves give the string buoyancy as it is run, which is where the word float comes from, and they are the reason cement stays in the annulus after displacement stops (Drilling Manual, Drilling Float Collar and Shoe).
Float equipment is qualified to API Specification 10F, formerly RP 10F, which rates it for flow durability, flow rate, temperature and pressure, with an optional auto-fill rating for equipment that lets the casing fill as it is run (API RP 10F, Performance Testing of Cementing Float Equipment). The rating says what the valve will stand. It says nothing about the threads on either end of the body, which are standard casing connections, API or premium, supplied to match the string.
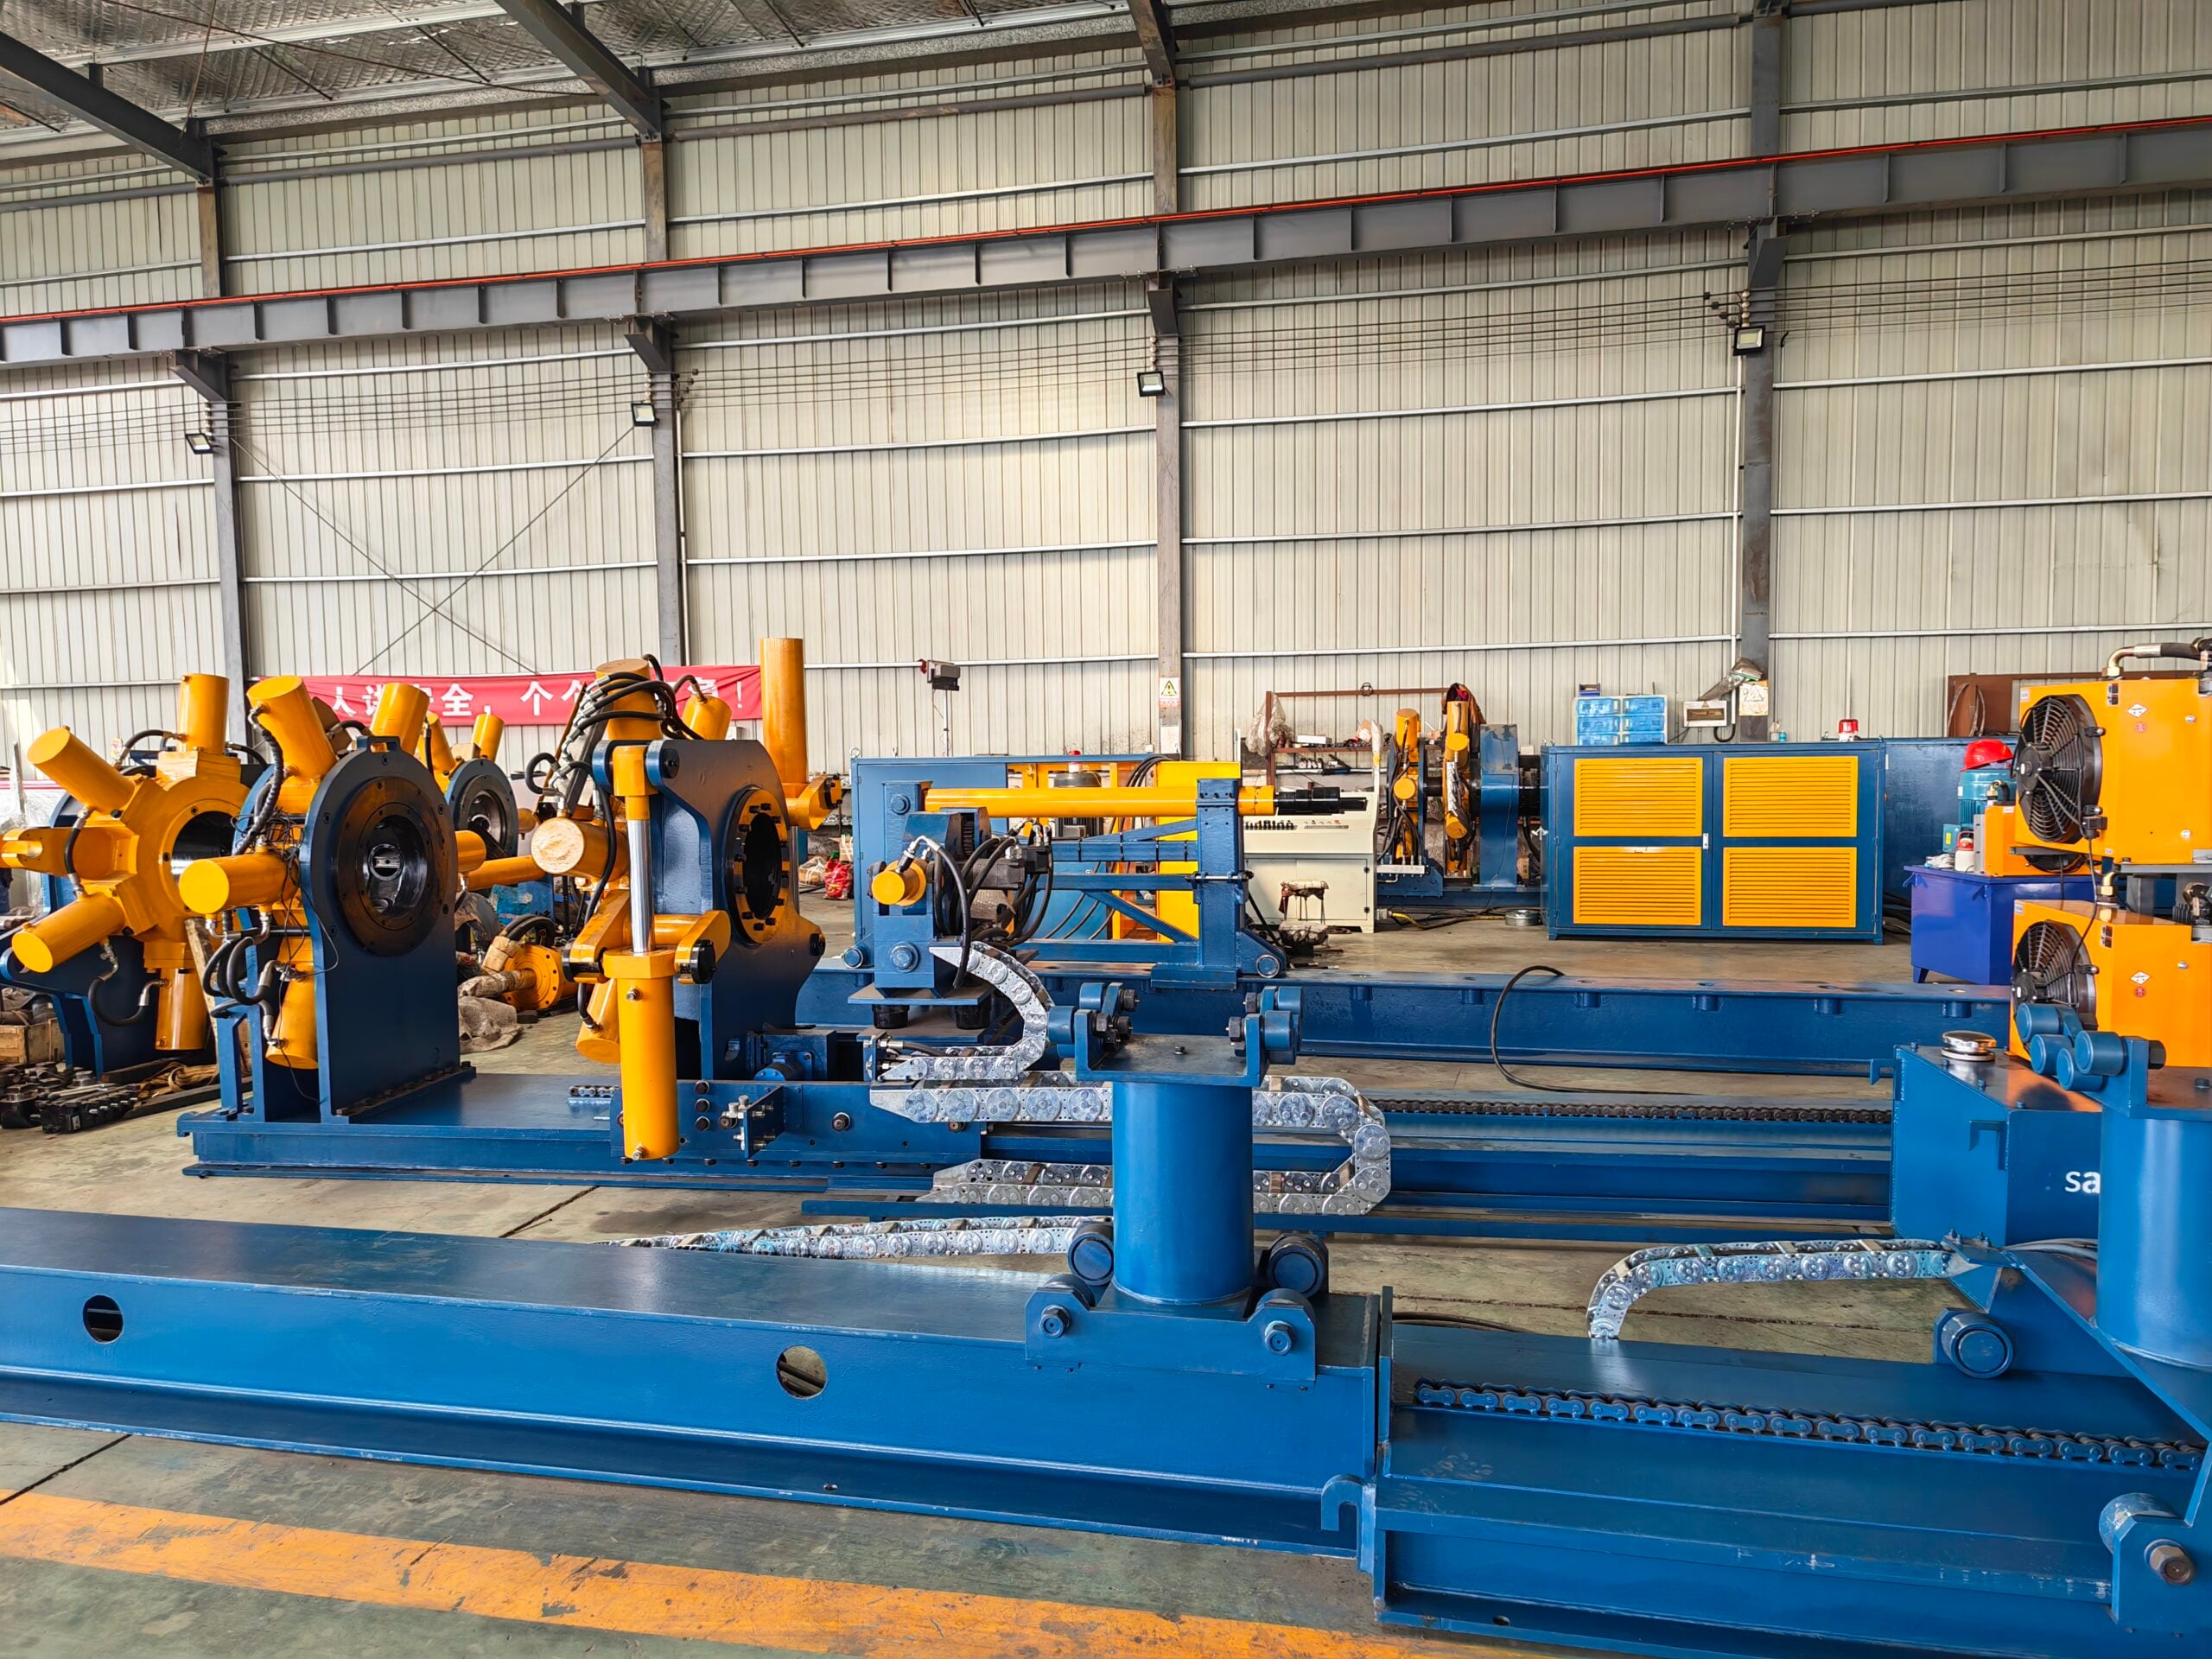
The shoe track: the threaded part of a cement job
Here is the part the cementing texts mention in a sentence and a pipe yard spends a day on. The shoe is threaded onto the bottom of the first joint; the first joint, and the second if the programme calls for two, are threaded to each other; the float collar is threaded on top. These make-ups are different from every other connection in the string for one reason: when the cement has set, a drill bit will be run through the collar, the shoe-track joints and the shoe, and a bit turning to the right applies right-hand torque to connections that were made up to the right. A standard make-up can back off under that torque, and a shoe track that unscrews while being drilled out is a fishing job. So the connections are made up with a thread-locking compound, a two-part adhesive that sets in the threads, in place of or on top of the usual compound, and are made up to the connection’s full torque so that the drill-out cannot loosen them (Drilling Manual, Drilling Float Collar and Shoe).
That make-up is done in advance, on a bench, for three reasons. The locking compound needs a clean, dry thread and time to set, neither of which a rig floor offers. The shoe and collar bodies are machined parts with valves inside that should not be clamped or strained by a tong. And the operator wants a record: which compound, which torque, which serial numbers, before the assembly is trucked to location. In a pipe yard or threading shop the shoe track is assembled on a horizontal hydraulic bucking unit, the body clamped on jaws sized for it, the connection brought up to the casing manufacturer’s torque with the compound applied, and the trace saved against the assembly. The same bench, the same day, usually makes up the string’s other accessories, landing collars, stage tools, crossovers, pup joints, and the practice is the one described for couplings in casing coupling make-up for OCTG threading shops. The casing those accessories go onto is described in the OCTG explainer.
| Connection | What is different about it | What the yard should do |
|---|---|---|
| Float shoe to first joint | Will be drilled out; the shoe body carries a valve and a drillable nose | Thread-locking compound, full make-up torque, jaws on the pipe body above the shoe, a trace tagged to the shoe serial |
| Shoe-track joint to joint | Will be drilled out; otherwise a standard casing coupling | Locking compound as the programme specifies, full torque, trace per connection |
| Float collar to the joint below | Will be drilled out; the collar carries the plug-landing profile and a valve | Locking compound, full torque, clamp on the pipe body, protect the collar bore |
| Float collar to the string above | Made up on the rig as the next joint is run; a normal casing connection | Nothing; the rig crew’s torque-turn record covers it |
| Centralizer stop collars, landing collars, stage tools | Accessories with their own make-up or set-screw instructions | Follow the maker’s instructions; record what was fitted and where in the string |
Two practical cautions from the bench. The locking compound sets, so the make-up has to be completed inside its working time; an assembly that stalls half made-up while the compound cures is scrap. And the make-up torque for a locked connection is the connection’s full torque, not a reduced figure, which for large casing is a high number; the bench is sized for the largest casing shoe the yard will see, and break-out capacity matters only for assemblies that have to be taken apart before the compound sets.
What goes wrong, and why the float equipment is in the answer
Cement is the barrier element that fails without a sound. In the study of 406 Norwegian wells that found barrier problems in 18 percent of them, cement accounted for 11 percent of the failures identified (Vignes and Aadnøy, SPE 112535, Well-Integrity Issues Offshore Norway). The mechanisms are well known: mud left behind in channels because the pipe was not centred or the hole not conditioned, a microannulus opening between cement and pipe when pressure or temperature changes, gas migrating through the slurry before it sets, and contaminated cement at the shoe. The industry’s response is design and verification, centralizer placement under API RP 10D-2, slurry design under API 10A, and isolation of flow zones under API RP 65-2, followed by a bond log where the programme requires one.
The float equipment sits inside most of those failure stories. A float valve that fails to hold lets cement flow back into the casing after the plug bumps, leaving the annulus short and the shoe track full. A shoe track that backs off during drill-out leaves the bottom of the string loose in a cemented hole. A collar with a damaged landing profile lets the plug pass, and the job has no bump to prove displacement. None of those is a cementing-chemistry failure; each is a hardware and assembly failure, decided before the casing left the yard. The valve’s rating is the maker’s business; the make-up is the yard’s.
Where cementing sits in the well’s life
Primary cementing belongs to the drilling phase of the upstream oil and gas sector, repeated once per casing string, and it is the step that turns a run string into a barrier. Its product lasts the life of the well: the cement behind the production casing is still a barrier element when the well is worked over, and the last cement the well ever receives is the set of plugs placed at plug and abandonment. The shoe track is the opposite: it does its work once, during one job, and is then drilled out and forgotten, unless it backs off.
When another page is the better start
A cementing engineer designing a job, slurry, spacer, centralizer programme, verification, is working to the operator’s cementing manual, the API documents named above and the service company’s design tools, and nothing on this site adds to that. A pipe yard that makes up shoe tracks and casing accessories should go to the bucking unit product page and the acceptance checklist, and should ask specifically about jaw sizes for large casing bodies, torque range for full make-up on big connections, and record export per assembly. A reader whose question was the casing itself, its grades and connections, should start with the OCTG explainer. And anyone with a cement problem on a live well is in remedial cementing, a different subject with its own tools.
The usual limit applies. Slurry designs, centralizer spacing, make-up torques and compound specifications belong to the operator, the casing manufacturer and the float equipment maker. This page describes which part of the job is threaded and where it is done; the numbers come from the documents that own them.
Frequently asked questions
What is well cementing?
The placement of cement in the annulus between a casing string and the formation, or between two strings, to support the casing, isolate every zone from every other and from the surface, and protect the pipe. Primary cementing is done straight after each string is run; remedial cementing repairs or adds to it later. The cement sheath is a barrier element for the life of the well.
What is a float collar?
A short sub with a check valve, placed one or two joints above the float shoe near the bottom of the casing string. The valve lets fluid pass down and stops cement flowing back, and the collar’s internal profile is where the bottom and top wiper plugs land, so that the pressure rise when the top plug bumps confirms the cement has been displaced into the annulus.
What is a casing shoe or float shoe?
The bottom component of the casing string: a rounded nose that guides the pipe past ledges in the hole, a drillable body, and in a float shoe a check valve that lets fluid down and not back up. A guide shoe has the nose without the valve. The shoe is threaded onto the first joint and is drilled out if the well continues below the casing point.
What is a shoe track?
The float shoe, the one or two full casing joints above it and the float collar, assembled together before the casing is run. Its purpose is to hold the last, possibly contaminated, cement inside the casing after the plug bumps, so that only clean cement reaches the annulus. It is drilled out afterwards, which is why its connections are made up with thread-locking compound.
Why is float equipment made up with thread-locking compound?
Because the shoe track is drilled out after the cement sets, and a bit turning to the right applies right-hand torque to connections that were made up to the right. Without a locking compound the connections can back off during drill-out and leave loose pipe at the bottom of the string. The compound sets in the threads, so the make-up is done on a bench, to full torque, inside its working time.
Who makes up the shoe track?
Usually the pipe yard or threading shop that supplies the casing, on a horizontal bucking unit, days before the string is run, with the compound applied and a torque record kept per connection against the shoe and collar serial numbers. The rig crew makes up only the connection between the float collar and the first full joint above it, as the string is run.
Send the shoe track, not the cement programme
A yard that assembles shoe tracks and casing accessories is quoted from the assemblies. The useful set for a bucking unit quotation is: the casing sizes and connection families the yard handles, the largest float shoe and collar bodies by outside diameter and length, whether thread-locking compound is used and the working time it allows, the casing manufacturer’s full make-up torque for the largest connection, the record format the operator expects per assembly, the other accessories made up on the same bench, the site power supply and a sketch of the bay. The Galip team quotes from that list and will say which jaw sets suit shoe and collar bodies.
The well cementing checklist
- Treat the cement sheath as a barrier element: it is verified by test and log, and it depends on the hardware that placed it.
- Specify float equipment by its API 10F rating for the job’s flow, temperature and pressure, and by the casing connection on its ends.
- Assemble the shoe track in the yard: shoe, one or two joints, float collar, with thread-locking compound where the programme requires it.
- Make locked connections up to the casing manufacturer’s full torque, inside the compound’s working time, on a bench with jaws sized for the bodies.
- Record every shoe-track and accessory connection: torque trace, compound, serial numbers, position in the string.
- Protect the collar’s landing profile and the valves during make-up and transport; a damaged profile means no plug bump.
- Hand the assembly record to the running crew with the string, so that the rig’s torque-turn record and the yard’s are filed together.
- Expect the shoe track to be drilled out; the make-up that was done right is the one nobody notices.
Expert Consultation
Need more information on optimizing your equipment performance? Our engineering team is available for technical consultations.
Request a Quote
Tell us about your requirements and our engineering team will prepare a detailed proposal with specifications, pricing, and delivery timeline.
