
Bucking Unit Workshop Layout Planning: Floor Space, Crane Access and Operator Flow
Bucking unit workshop layout planning should cover floor space, crane and forklift access, pipe support, operator visibility, QA records, and maintenance room before installation.
Bucking unit workshop layout planning should start before the machine is bolted down. Most bucking unit conversations start with torque, pipe range, clamping design, rotation control, and reporting. Those numbers matter. But they stop at the machine, and the machine is only part of the job. The day the unit lands on your floor, it is the space around it that decides whether work runs clean or turns into a daily fight.
I have watched capable machines underperform for reasons that have nothing to do with the spec sheet. The bay is too tight. Pipe gets dragged into position by hand. The crane cannot line up on the right side. Operators cut through pinch points, and the QA paperwork happens at a desk on the far side of the shop. The unit is fine. The work cell around it is what holds the team back.
So before you sign off on a purchase, walk the workflow first. This is written for the people who actually have to live with the install: buyers, workshop managers, production supervisors, and service crews. It covers the practical side of an installation — floor space, crane and forklift approach, pipe support, operator movement, maintenance room, job records, where customers stand during a witness, and leaving yourself space to grow.
There is no universal floor plan here, because no two shops are the same. The point is to think the job through before the machine gets bolted down. A bucking unit should not just fit inside the building. It should fit the way your shop receives, stages, makes up, records, inspects, and releases tools.
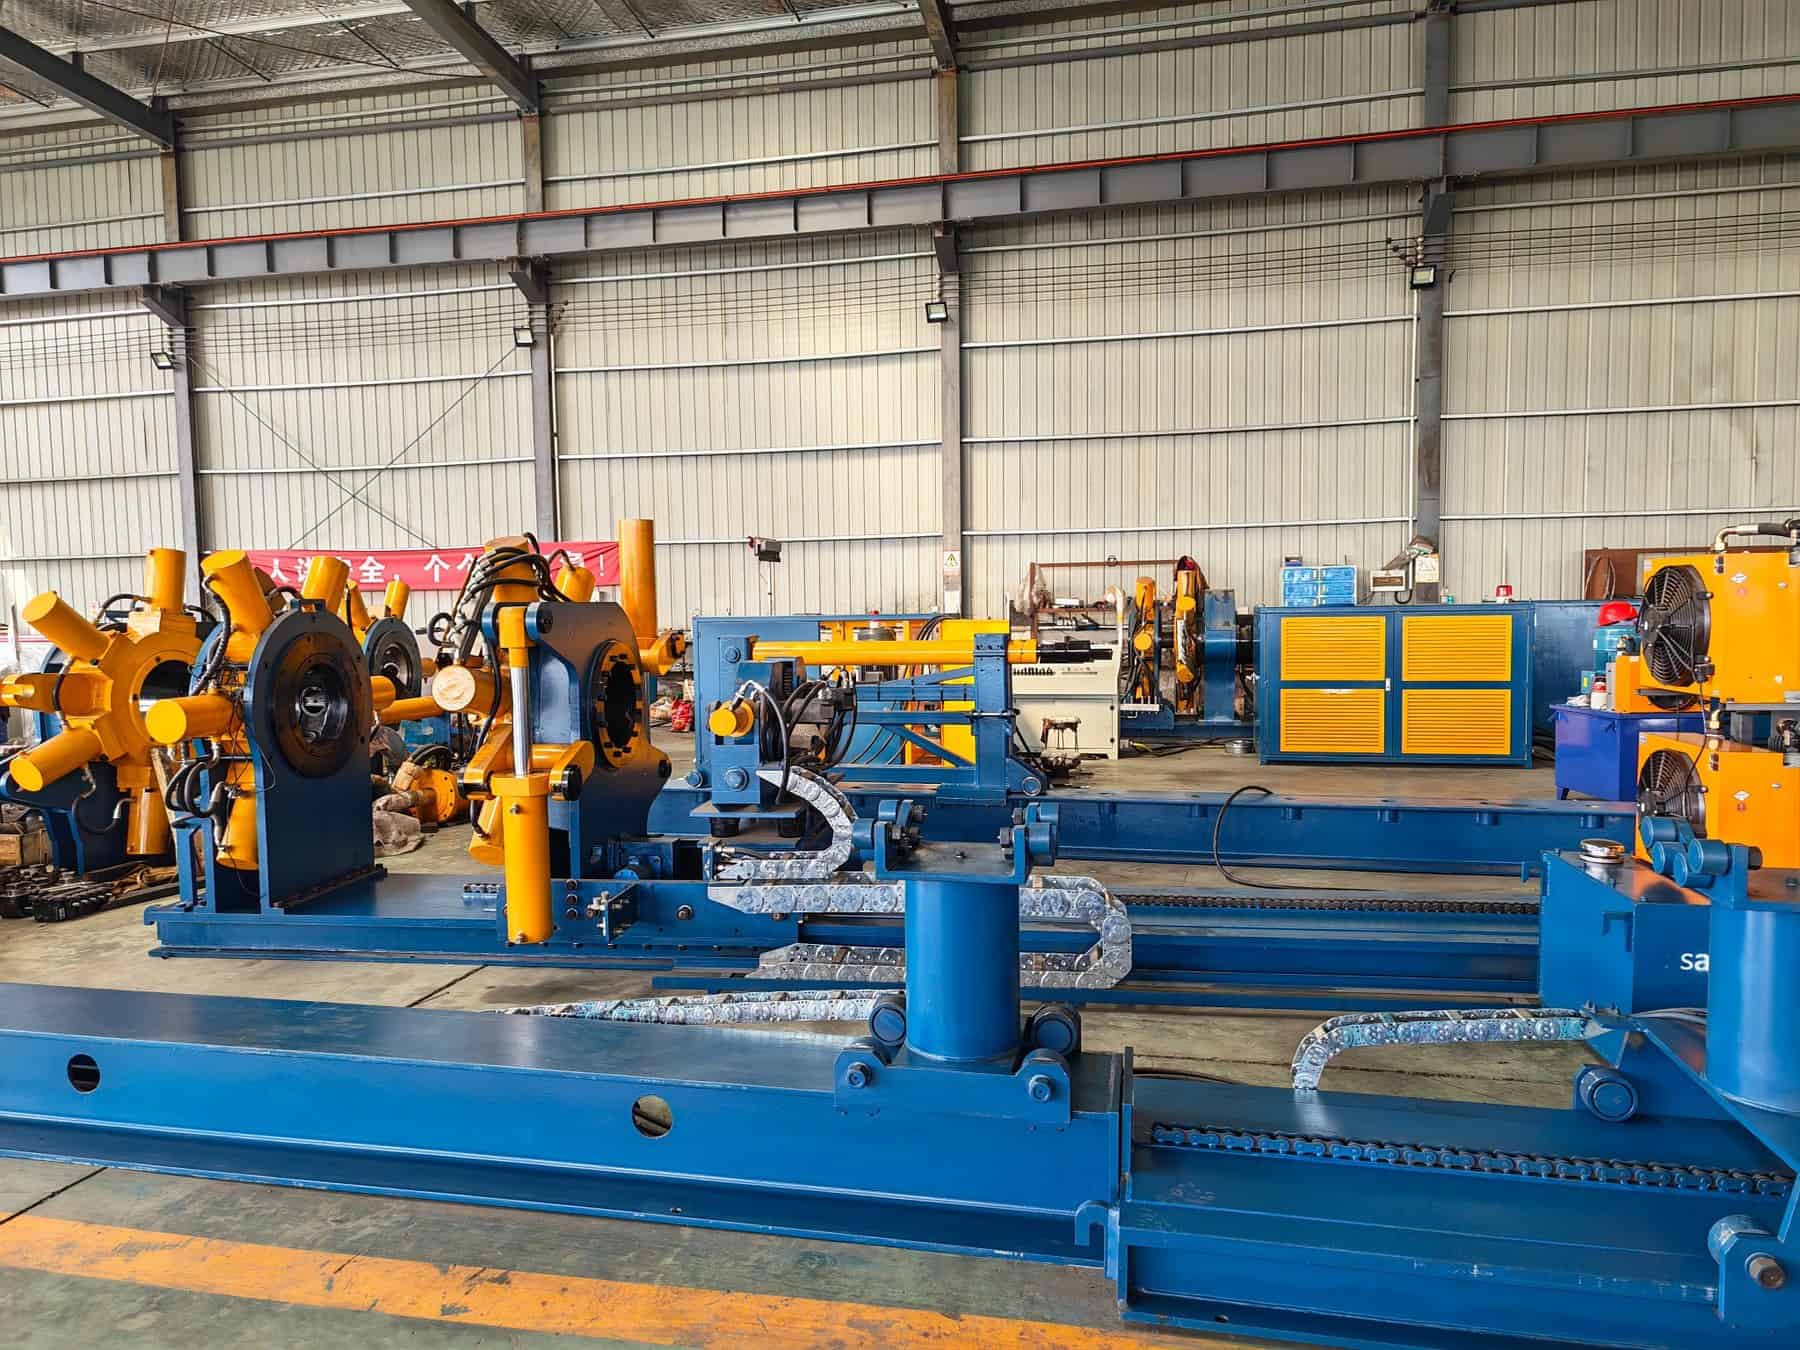
Bucking unit workshop layout planning starts with the workflow
A lot of layout problems trace back to the first question people ask: where can we fit this? Flip it around. Ask how a job moves through the shop, from the moment it arrives to the moment it leaves.
The good layouts run in one direction. Parts come into a staging area, move into the machine line, go through make-up or break-out, get inspected and have their records reviewed, then leave through a finished lane. The moment unfinished and finished parts start crossing paths, you lose time and mistakes get easier to make.
Keep the normal work separate from the exceptions, too. If a connection needs rework, the operator should not have to hold up the next part while a supervisor walks over to look at it. A small rework-hold spot beside the machine keeps a busy shift from turning into a traffic jam.
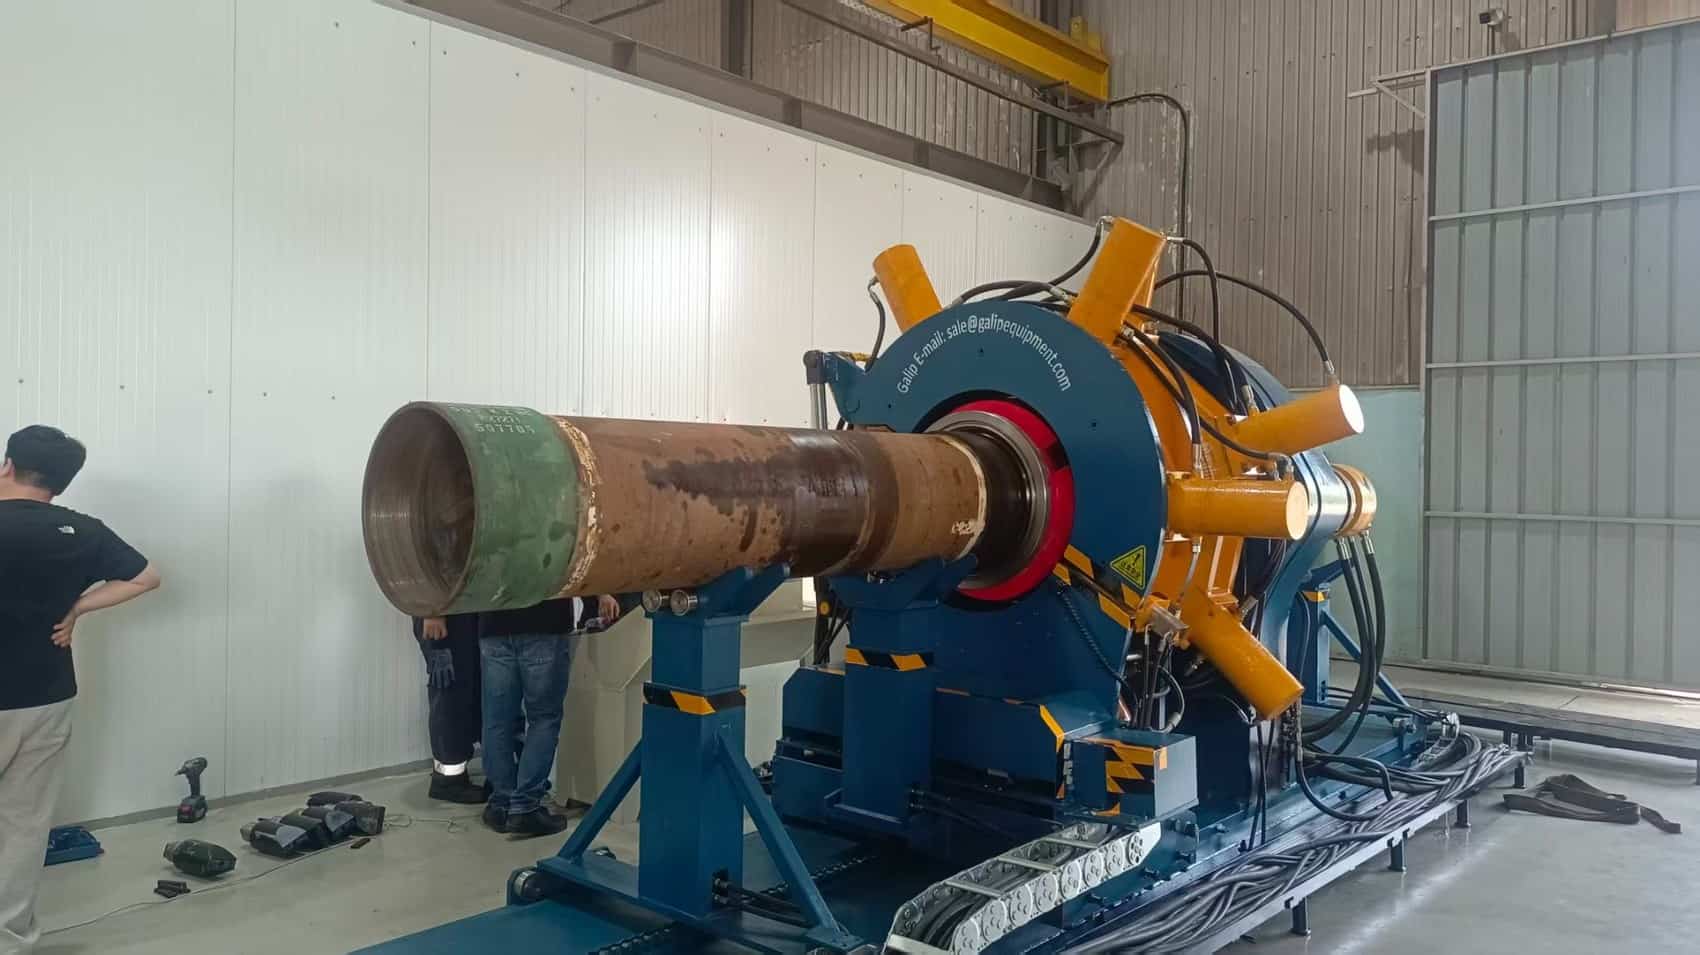
The six zones a bucking unit work cell needs
Instead of picturing one machine, split the area into six working zones, each with its own job: a staging area for incoming parts, a handling and loading zone, the make-up line itself, the operator station, a records and QA spot, and clear maintenance access. Miss one of these and the work does not disappear — it spills into a walkway, a crane path, or the operator’s feet.
Floor space: leave room for people, not just pipe
A drawing that shows the unit fits the building is not the same as a work cell that is ready to run. People need room to move without stepping over hoses, protectors, blocks, and tools.
Walk it in your head before you commit to a spot. Pipe comes in from somewhere, the operator needs a place to stand during setup, and a supervisor needs a place to stand during a witness job. The next tool has to wait somewhere, a rejected one has to go somewhere else, and maintenance has to be able to open a cover without moving half the bay. If you cannot answer those in the sketch, the floor will answer them for you, badly.
A cramped layout costs you in ways that never show up on an invoice. Operators slow down because every setup means shifting something out of the way. Housekeeping slides because nothing has a home. Records get inconsistent because the paperwork station is not part of the flow. And visitors end up standing wherever there is a gap, which is rarely a safe place to be.
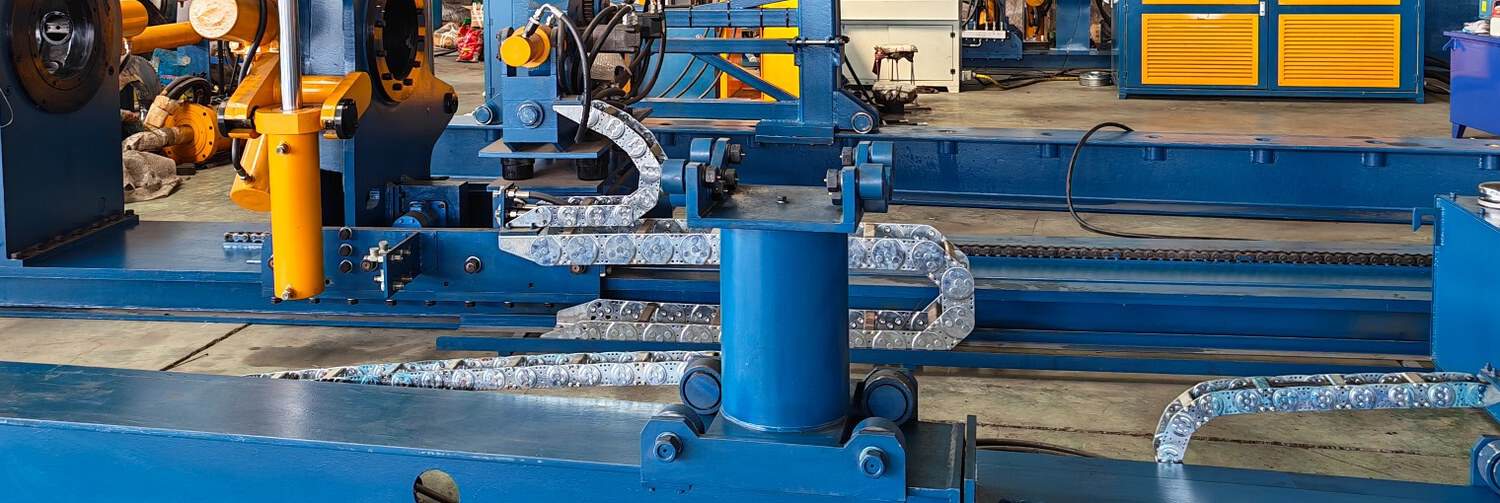
Crane and forklift access: plan the approach before the machine arrives
Buyers fixate on the machine and forget the approach. In plenty of shops the handling gear is the real bottleneck. A tool is too heavy to nudge by hand, too long for a tight corner, or impossible to set down square because the hook will not reach the machine centerline cleanly.
Plan the lift for the longest and heaviest assemblies you actually expect to handle, and think about how the piece gets lowered onto its supports before the clamps close. If the crane operator cannot see the landing clearly, you will want a banksman, fixed mirrors, a camera, or a different loading orientation — and it is far cheaper to design that in now than to improvise it on every job.
The first lift the shop makes is the machine itself, so ask the factory for packing photographs that show crate sizes and lifting points before the container is closed.
Forklifts need the same discipline. If they stage parts or move supports, their turning circle cannot swing through the spot where the operator stands. The best layouts make the handling path predictable. The worst ones force everyone to wing it every time a different length or OD shows up.
Pipe handling and support: protect the connection before torque begins
Connection damage does not wait for final torque. It starts earlier, in the lifting, the support setup, and the alignment. Give the crew enough room to support the piece properly before anything clamps. The pipe should not hang off the connection, lean on the machine, or rely on one person leaning into it during setup.
Make the support points easy to reach and easy to keep clean. When they are awkward, operators settle for a position that is good enough because fixing it takes too long, and that small shortcut comes back later as thread damage, an uneven start, odd shoulder behavior, body marks, or a make-up trace that does not look the way it should.
The small stuff needs a home as well. Thread protectors, lifting subs, slings, caps, compound, cleaning rags, and job tags all need assigned places. Left on the floor they are a trip hazard and a contamination source. Moved too far away, operators burn time hunting for them.
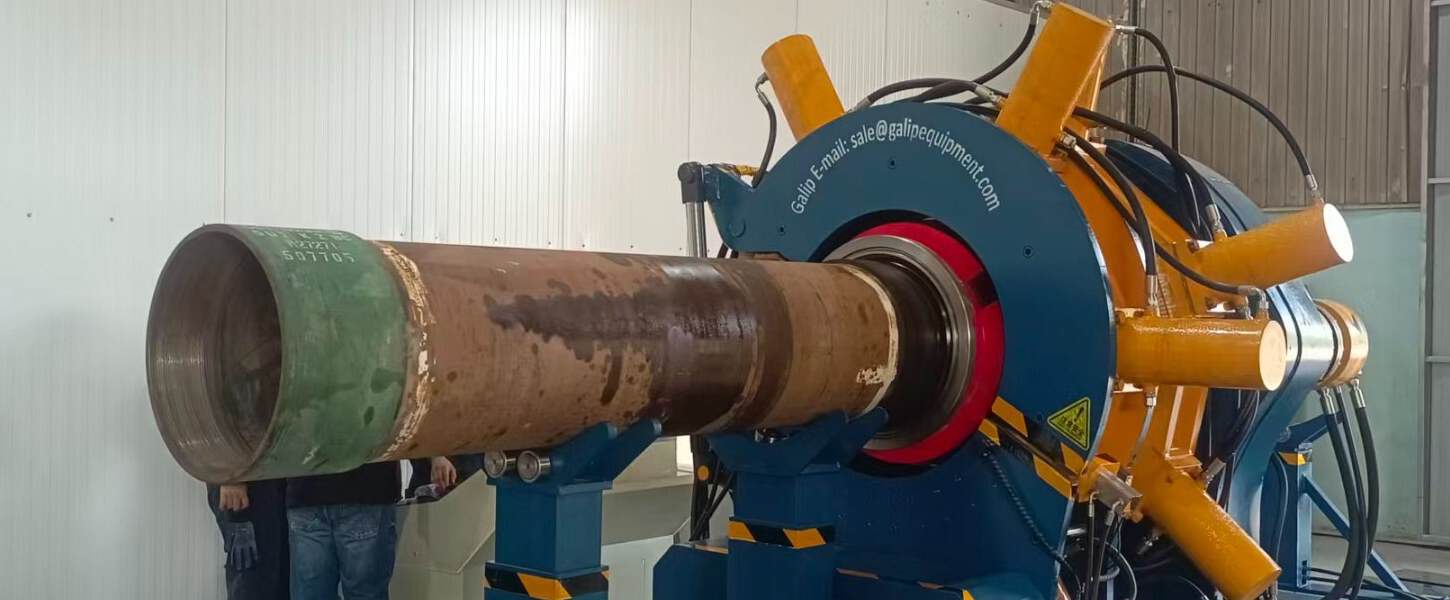
Operator station: visibility is part of quality control
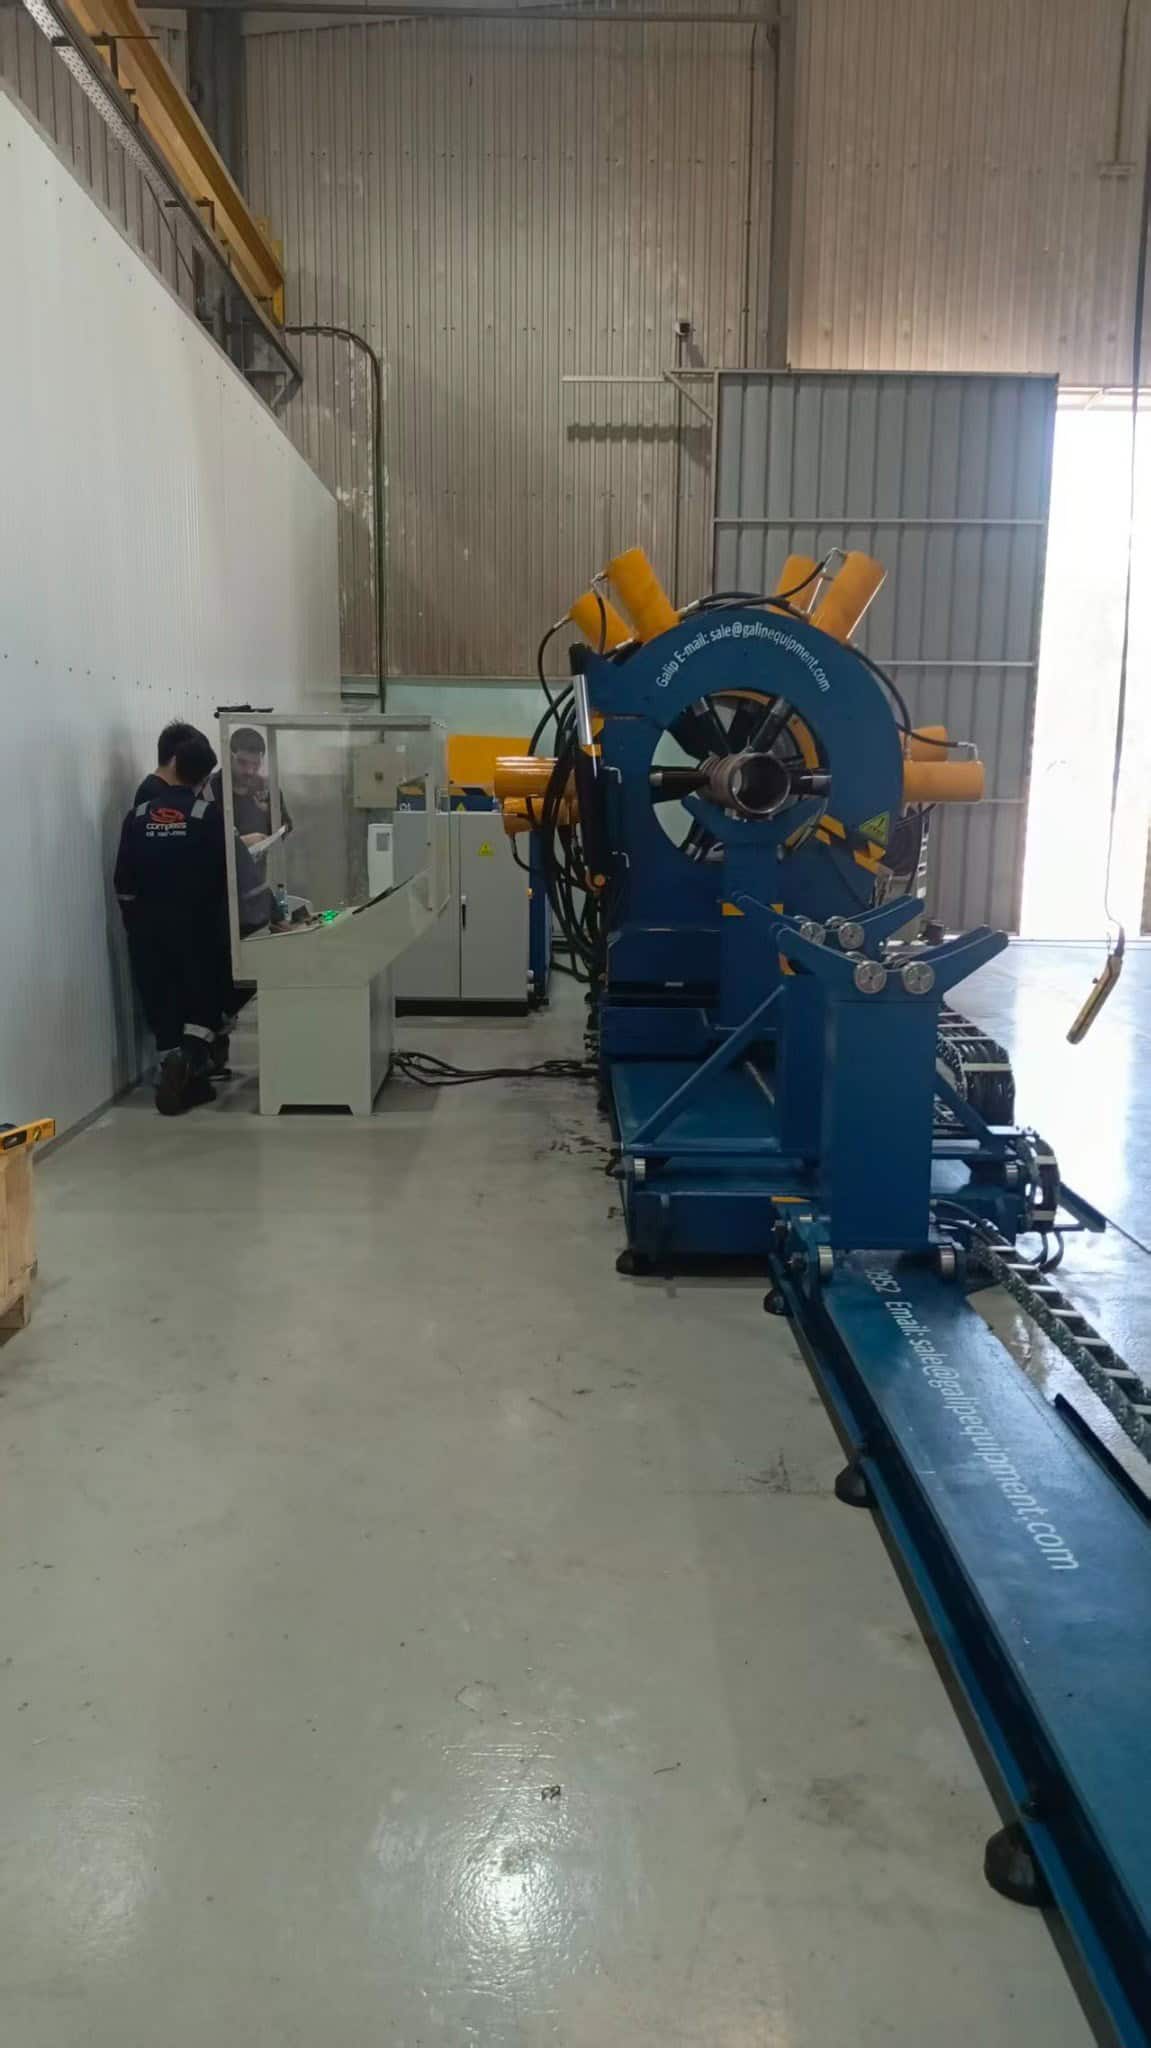
Do not put the operator station wherever the cable run happens to be easiest. Put it where the operator can see the machine, the workpiece, the controls, and the spot where someone might wander in. If they cannot see a hazard, you are asking them to run the job on half the information.
A station that works has clean standing room, the emergency stop within easy reach, a way to step back without backing into traffic, and real separation from the moving parts. It also has to stay clean enough for job records, the keyboard, the screen, and a quick word with a supervisor or QA.
For witness work, keep the customer out of the operator’s elbow room. Give them a defined viewing spot where they can watch the job and report back without standing in the operator’s path or inside the machine zone.
Records area: make report handling part of the physical layout
A unit with report export only helps if the shop actually handles the records well, and that is as much a layout habit as a software one. When job papers, connection references, customer instructions, and file naming all happen away from the work area, that is exactly where missing and mislabeled reports come from.
Build a small, clean documentation spot into the cell. It does not need to be fancy: a protected surface, somewhere for the current job sheets, a naming rule everyone follows, and a backup routine. Keep whoever is reviewing the report close enough to read the job context but clear of the live machine zone.
This bites hardest on repeat work. Run a few dozen similar parts in a shift and a small naming slip turns serious fast — the wrong customer, the wrong joint number, the wrong connection, or a missing note on something abnormal. Any one of those quietly turns a good make-up into a weak audit record.
That risk is heaviest in shale completion shops, where batch make-up across repeated completion tools and pup joints depends on first-item checks, clear job names and a QA review point built into the cell.
Maintenance access: design for year two, not just day one
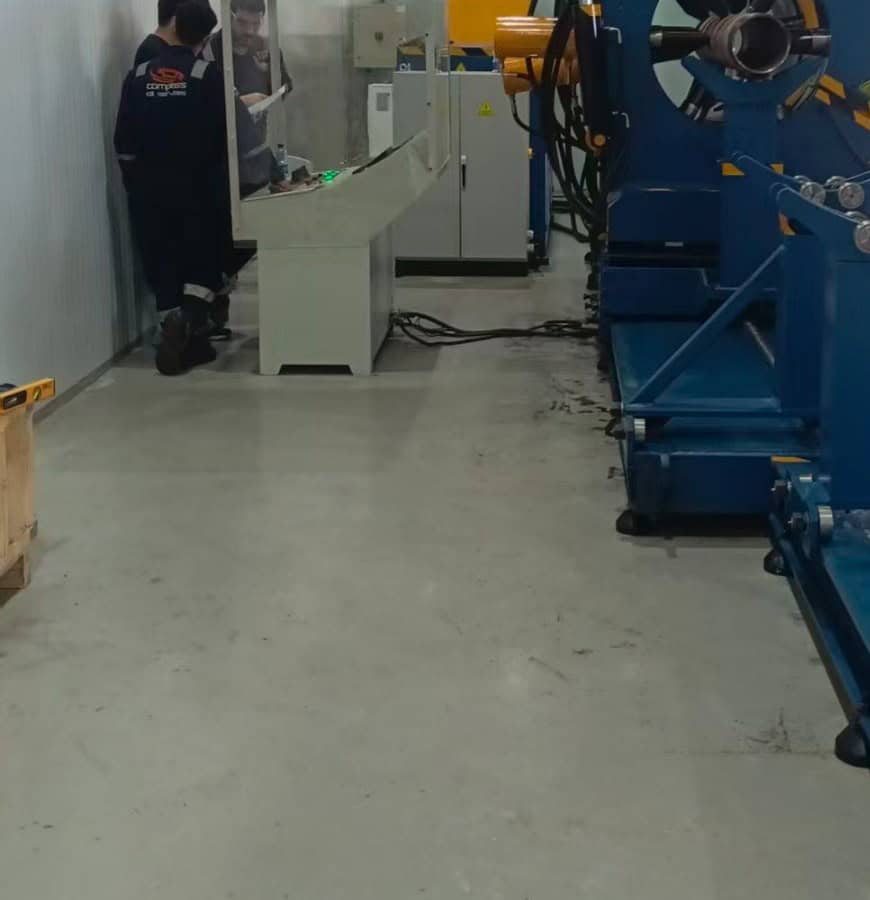
A new machine is easy to love. It is clean, open, and everything is in reach. A year later the shop is asking a different question: can the maintenance crew still get to what they need to inspect, clean, grease, tighten, or swap out?
Leave room around service panels, the hydraulic unit, cable carriers, grease points, moving assemblies, and safety devices. If a service job means shifting stored material, unplugging unrelated equipment, or blocking a production lane, it gets delayed or skipped. That shows up as downtime, as repeatability that slowly drifts, and as the kind of improvising nobody wants happening near a clamp.
Plan for cleaning while you are at it. The floor around a bucking unit collects compound, protectors, straps, oil film, and packaging. A layout that is a pain to clean turns into a layout that is a pain to run.
Common layout mistakes that slow the work down
- Sizing the bay to the machine footprint instead of the full work cell.
- Pushing the unit against a wall to save space, then losing service and support access.
- Letting the forklift route cut through the operator’s standing area.
- No defined place for rework, so one bad joint blocks the next job.
- Handling QA records away from the job, which is where naming errors creep in.
- Designing only for the common job, until the rare long, heavy one ties up the whole shop.
A practical layout exercise before you buy
You do not need CAD to do this well. A tape measure, a rough floor sketch, a list of your typical workpieces, and a few photos of the current bay are enough to start a useful conversation.
Start by listing your longest, heaviest, smallest, and most frequent jobs. Do not build the whole layout around the biggest assembly if it is rare, but do not ignore it either if that rare job can shut everything down. Next, mark the path a part takes from receiving to release. Then decide where the operator, the supervisor, a customer witness, the maintenance tech, and the lifting gear each stand at every step.
Now walk two jobs in your head, a normal one and a bad one. The normal job should move through without doubling back. The bad one needs somewhere to sit without blocking the next operation. Last, give the daily housekeeping items a home: protectors, slings, brushes, compound containers, job sheets, support accessories, and waste bins.
When you sit down with a supplier, have these ready:
- Overall workshop dimensions and where you are thinking of putting the machine.
- Crane hook coverage, lifting capacity, and approach direction.
- Forklift routes, and whether they cross pedestrian or operator zones.
- Typical and maximum workpiece length, OD, weight, and connection type.
- Expected daily or weekly volume, and the number of operators per shift.
- Where job records, customer paperwork, and report backups will be handled.
- Maintenance clearance around the hydraulic, electrical, and moving assemblies.
- Anything special: premium connections, CRA parts, customer witness jobs, or mixed tool families.
Spec the machine and the work cell together
Planning the work cell is part of choosing the machine, not an afterthought. A serious buyer needs more than a model name. They need a configuration that fits their OD range, torque requirements, job volume, reporting expectations, and the way work actually moves through their shop.
If you send us your OD range, torque needs, product type, job volume, reporting requirements, and a few photos of the proposed bay, we can match a configuration to your real conditions. Take a look at the Galip hydraulic bucking unit for controlled workshop make-up — built around torque-turn recording and report export, set up to sit inside a controlled work cell rather than just supply raw torque.
FAQ
How much floor space does a bucking unit need?
There is no single number, because it depends on machine configuration, workpiece length, lifting method, support equipment, operator access, and maintenance clearance. Plan the full work cell, not only the machine footprint.
Should the bucking unit go near a wall to save space?
Usually not without a careful look first. Putting the machine too close to a wall cuts service access, makes support adjustment harder, and crowds operator movement. The space you save on day one becomes lost time on every job after that.
Where should the operator station be located?
Somewhere with clear visibility of the workpiece, the machine movement, the controls, and the area around it. It also needs safe stepping space and must stay out of the crane and forklift travel path.
Why does the QA record area matter in the layout?
Make-up reports and job notes are part of what you hand the customer. If records are named, reviewed, and saved away from the job context, errors are more likely. A simple clean record station near the work cell keeps the discipline tight.
What should a buyer send before asking for a quote?
OD range, torque range, product type, connection families, daily workload, available floor space, lifting method, power conditions, reporting requirements, and photos of the proposed installation area.
Related: the layout is only half the system — see our guide to pipe handling equipment for OCTG workshops for the racks, supports, transfer, and staging equipment around the machine.
Expert Consultation
Need more information on optimizing your equipment performance? Our engineering team is available for technical consultations.
Request a Quote
Tell us about your requirements and our engineering team will prepare a detailed proposal with specifications, pricing, and delivery timeline.
